How To Start A Pinterest Account (the right way)
June 13, 2021
Pinterest marketing has become something that is necessary for nearly every online business owner. Their mission is “to help people discover the things they love, and inspire them to go do those things in their daily lives.”
Many people, including clients of mine, have said they ignore Pinterest because they just don’t understand how it benefits them.
In fact, some have told me they have a Pinterest account and know they need to use it for business but they don’t. *cue heartbreak for Heather*
So let’s break it down really quick.
In this post about Pinterest statistics I broke down a bunch of great numbers…
- Pinterest has over 478 million users.
- Pinterest has gone global with nearly 80% of their users going mobile.
With nearly 2 billions searches taking place each month and most all of them unbranded you have a place on Pinterest and you could be missing out on it.
What if I said this… if you took an hour a week to create a few new pins and use targeted keywords you could see your organic traffic increase in a matter of months?
Would you want to put the time into growing that organic traffic if it meant new subscribers to your email list? What if it meant sales of your products turning readers into buyers?
You need a Pinterest account for your business and I am going to show you how to get started on the right foot.
Starting A Pinterest for Business Account
When you start a brand new Pinterest account you will see on the first page the ability to create a business or personal account.
Choose Business and fill in your details.
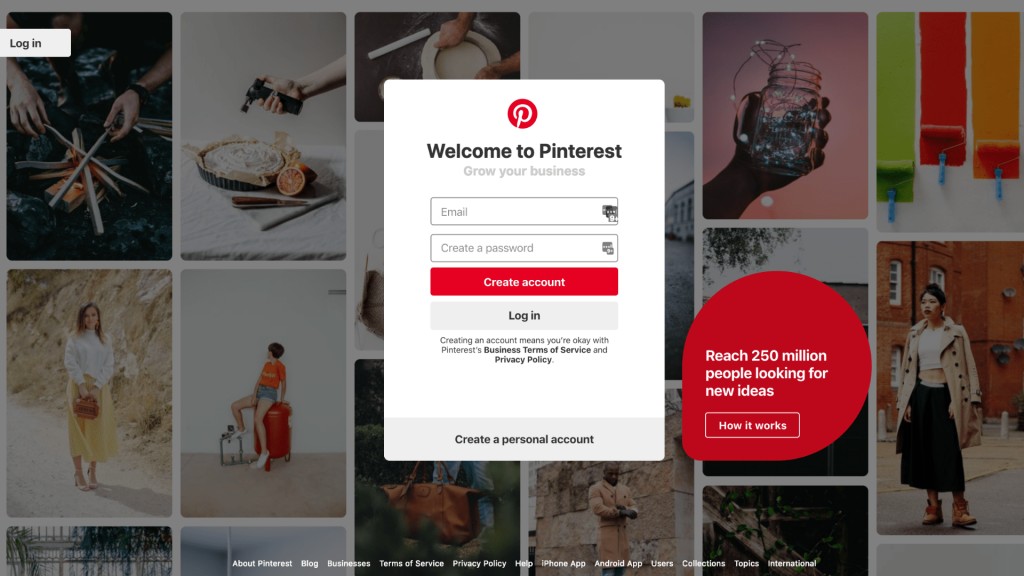
Now that you’re all signed up and you have a brand new business account you need to fill out your settings.
At one point you could customize your profile name to have keywords but Pinterest is starting to take that capability away.
Fill out your settings the best you can and make sure to pay special attention to your bio and use keywords there.
You can see what I did below. Once you have completed the basic profile settings you can move on to claim your websites.
RELATED: 6 Places to Use Keywords to Optimize Your Pinterest Profile
Claim Your Websites
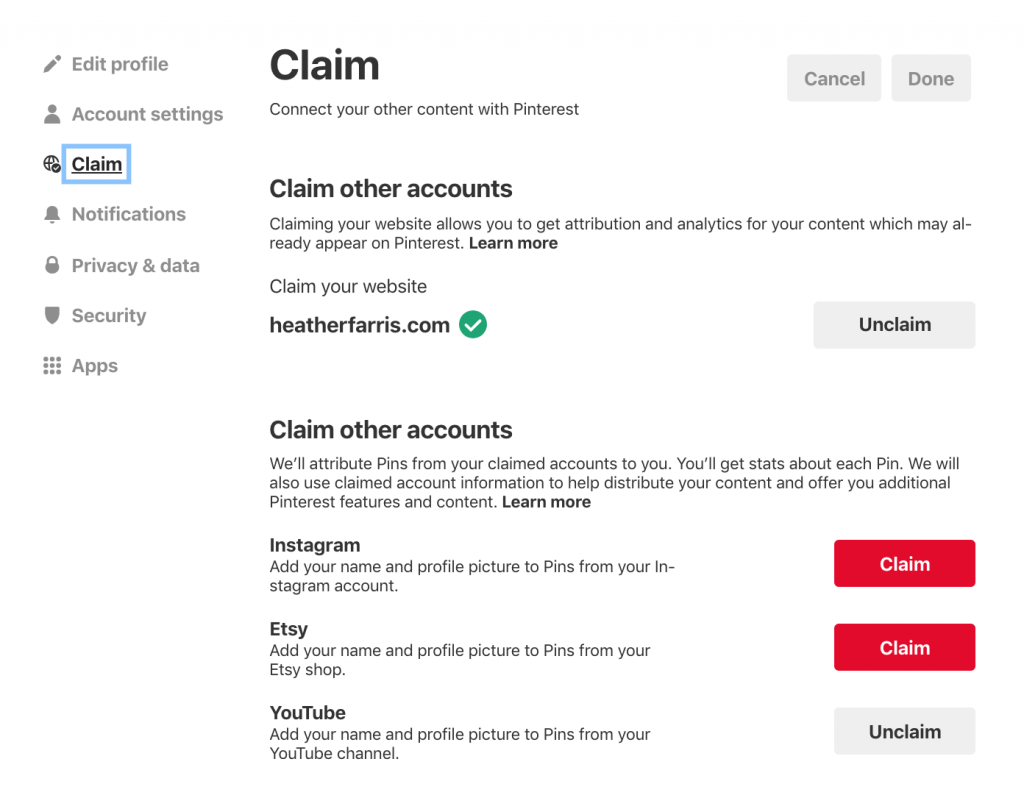
This is the best part of having a business account. You can claim your website as well as Etsy, YouTube and Instagram handles.
This is important because it provides analytics for your website, but it also provides an extra layer of data on your miscellaneous accounts like YouTube.
Next we are going to talk about optimizing your newly established account.
Optimizing Your Pinterest Account for SEO
Now that we have the boring part out of the way we need to dive into making your profile SEO optimized. In this example, we are starting with a brand new business account but you can use my techniques to actually optimize any profile on Pinterest.
Now you are going to want 2 Pinterest windows open so go ahead and open another window for Pinterest. Leave window 1 on your profile and window 2 can just be the smart feed or your profile. We are going to use 1 window to create new boards and we are going to use 1 window for SEO research.
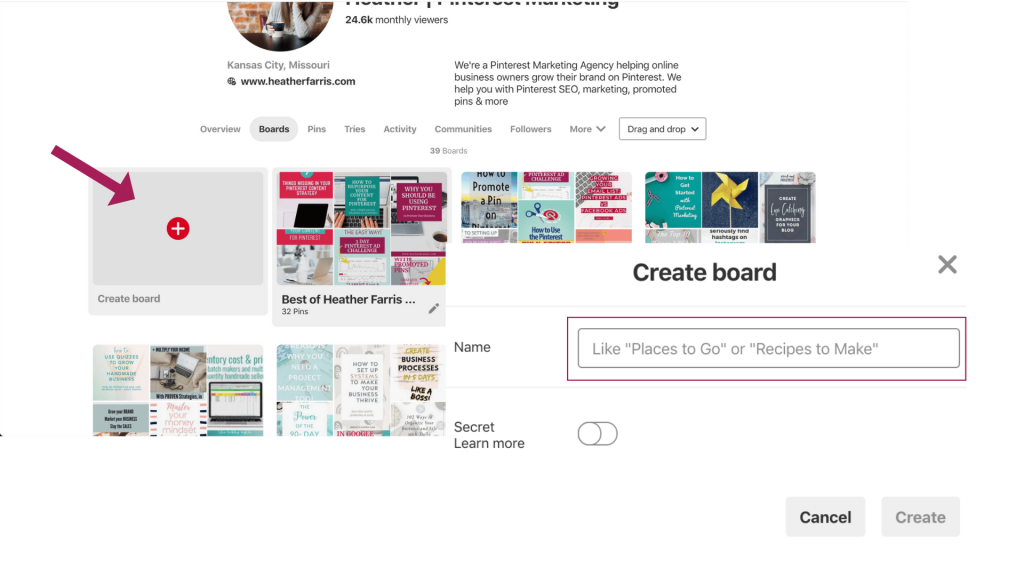
Head over to your profile window and click to the boards tab and click create a new board.
Now toggle over to your second Pinterest window and let’s do a bit of research. I’m going to use my Pinterest account here for the example so follow me for a second…
I want to create a new board around virtual assistant work. So research time… I typed in “virtual assistant” and Pinterest has given us a variety of keywords we can choose from that people are searching for.

You are going to do this a number of times to get 3-5 long-tail keywords that you will be able to use in your board descriptions as well as your related pins. You should even use these keyword phrases in your text overlays on your Pinterest images.
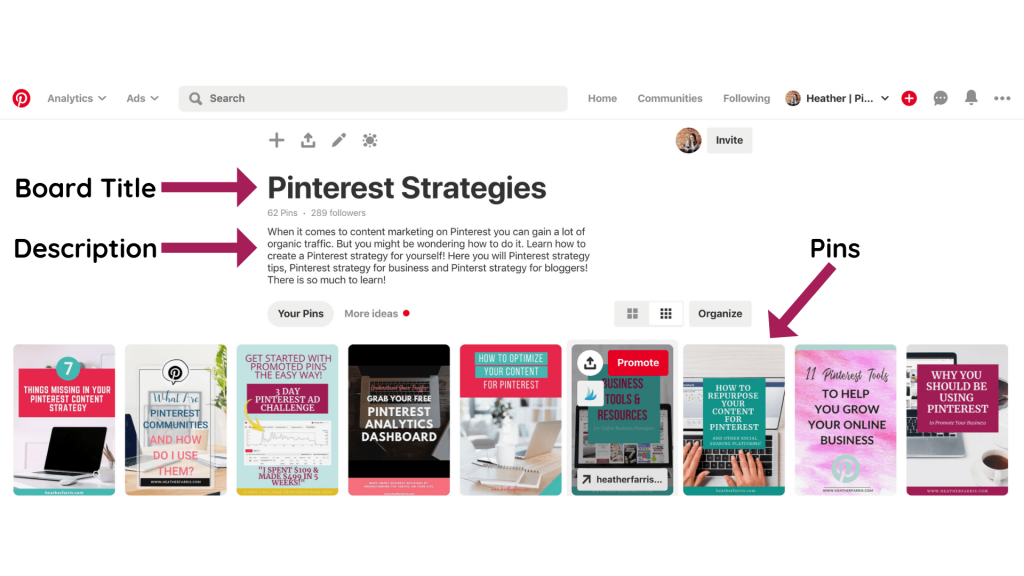
Once you have a profile with solid keywords in place you’re ready to start automating your pins using Tailwind.
Automating Your Pins
Obviously, I will always recommend Tailwind as of your Pinterest marketing strategy. If you are using something else and ask me why your Pinterest strategy isn’t working I’ll say it’s likely you’re not using Tailwind.
I require all of my clients to use Tailwind as well. It’s just one of those things… like my choice in coffee or tea. It’s always the same answer no matter what! So let’s talk about automating those pins and why you should do this.
First, there is no way you can be on the platform pinning when your pinners are on. It’s just not possible if you want to have a life. That’s where Tailwind comes in.
Your content is more likely to be seen by those who are looking for you if you’re pinning content during those high traffic times.
Your content is more likely to be seen by those who are looking for you if you’re pinning content during those high traffic times. Tailwind allows you to figure out those best times based on their smart schedule. Their app connects to your Pinterest account and reads your data.
They can see information you can see and can give you those times. With Tailwind you can create board lists, see analytics based on pins and boards and even utilize their Tribes and SmartLoop features. It’s really a no brainer.
You create the content, use Tailwind to automate and distribute without you having to be online to do it. My favorite Tailwind features are:
- Communities
- Board Lists
- Pin Inspector
- Board Insights
- Smart Loop
Do yourself a favor and automate! For $119 per year its a serious no-brainer.
RELATED: Manual Pinning Strategy vs Scheduled Pinning Using Tailwind
What Can I Pin?
I get this a lot when I consult on Pinterest accounts. It’s a bit of a different answer depending on who I’m talking to but here is a general rundown of what you can pin.
- Products
- Lead magnets
- Videos
- Blog posts
Pretty much anything with a link can be pinned to Pinterest. Do you have affiliate relationships? Create high-value content around that product and make a pin to put on Pinterest.
This goes for anything you create. If you are creating it you should consider the ways you can repurpose your content for Pinterest.
RELATED: How to Use Pinterest for Affiliate Marketing
Keys to be Successful
When I have clients that tell me they haven’t seen great success from Pinterest it kind of breaks my heart. Honestly, with a few key ingredients you can see great success from Pinterest. Here are my thoughts on what those keys are:
- Consistency
- New images & content
- Keywords
- Video pins
- Idea pins
With all of the above each week you will be surprised at just how quickly you will see success on Pinterest. When you do see that traffic start coming in pay attention to your data and learn what it all means.
If you’re looking for more Pinterest strategy and support you should join Pin Profit Academy. This is our monthly membership program where you get the strategy, support & accountability you need to succeed.
Pin It For Later
Heather went to school for accounting and worked for years in banking and finance. After finding all of that entirely too boring she started her first blog in her basement in August of 2016. She has started 3 blogs in the marketing, motherhood and travel niches and used Pinterest to grow them all. She quickly became the go-to Pinterest strategist in her peer circles and has been implementing strategies, driving traffic and sales through organic and paid tactics for her clients. On this blog and her YouTube channel she educates the public about clear and transparent marketing strategies to help them to grow on Pinterest and in other places online.
When I hear that some blogger doesn’t use Pinterest, or that they don’t even know what Pinterest is, my eyes start rolling. Pinterest + Tailwind is an amazing and very underestimated way to grow your business.
It makes me cry on the inside. It’s just as vital as Google SEO in my opinion.