How to Outline Successful Idea Pins
January 26, 2023
How do you outline successful Idea pins to get the best viewership, engagement, and overall save-ability to help it to go further faster? Well, that is what we are talking about today.
After doing Idea pins for 18 months consistently for all of our clients, I have noticed trends. We’ll talk about what Idea pins that tend to do the best, the type of content they provide, and their overall format or framework.
Types of Video for Successful Idea Pins
Whether it’s a 60-second clip like an Instagram reel or a TikTok, or a full-fledged multi-page Idea pin, they all have the same basic framework.
So how do you make Idea pins truly savable and something people want to consume and come back to later? How do you make something that blows their socks off and makes them want to go to your website right now to see what else you offer?
In today’s post, I will give you the framework we use for our client’s successful Idea pins. We suggest they do this when creating Instagram reels or TikToks. Because we will ultimately end up repurposing into Pinterest Idea pins.
RELATED: Creating Idea Pins With Video Even If You’re Not A Video Creator
Keys to creating your successful Idea pins
Your overall framework will probably depend on the Idea pin that you create. There are four common types we use in our agency for clients, from content that clients are putting on other platforms or whether we are making them from scratch.
Those four types are:
- Instructional or How-to content
- Conversational
- Storytelling (I’m not a big fan of this one)
- Comparison (One of my clients does this one well on her Instagram, and we utilize this content into Idea pins.)
The basics aspects of what you need in your Idea Pins are:
- Hook – what grabs the viewers attention
- Body – the meat of the message
- Call to action – telling the viewer what to do next
If you have watched my YouTube channel for any length of time, you have heard me talk about this before.
Step 1 – An engaging hook
You always want to start with a hook, regardless of which of the four frameworks you use. You must use that hook at the beginning for how-to, comparison, or storytelling pins, to get the people in.
What you use on the first page will also matter. It should match your hook or go along with it in some way. So, if you are doing design, home decor, food, or even putting makeup on your face, you want to do more of the after as the first look of what people will actually see when they stop the scroll. You want to knock their socks off and just wow them with your hook matched with that final product.
“You want to knock their socks off and just wow them with your hook matched with that final product.”
The hook is the key to stopping the scroll. But you don’t want to give away your entire idea on the first page, especially if you’re making a multi-page Idea pin. You don’t want to give it all away in the first five seconds of your Idea pin if you’re doing a 60-second clip.
Leave some mystery and get that watch time and that engagement stretched out further. You may want to use the first slide with the text to be a bit clickbaity and leave a little bit of mystery or a little left to be desired.
One of our client’s successful Idea pins I created for her in May had a very polarizing title. It was “How to plant a tree so that it doesn’t die.” The ‘so that it doesn’t die’ is clearly what people wanted to learn. They may have planted trees in the past which must have died.
This Idea pin took off and got 500 saves in about 30 days. So it is vital that you use a little bit of mystery on that very first slide. We want to pique their interest. But we also want to keep them there long enough to continue seeing the content on the following page or in the following seconds.
So the hook is usually the hard part for a lot of people. But it can also be the easiest part of all of it to create.
RELATED: How to Create Viral Idea Pins to Stop the Scroll & Get More Engagement
Step 2 – Body with substance
The body is the meat of your Idea pin. The theme I have seen across all the client successful Idea pins and my own (the ones that have outperformed all the rest, the ones that have gotten thousands of impressions, saves, clicks, profile visits, and follows) is that they all give the whole idea. They truly detail the full idea, and are not stingy with the content in the Idea pin.
Any Idea pin I create for most clients ranges from one to six slides on average. So slides two to five are the body of the Idea pin.
Idea pin examples
In the example of my gardening client, when my client was teaching people how to plant a tree, so they don’t die, the very first slide was a beautiful tree that had just been planted in fresh soil.
On slide two, I would detail all of the ingredients needed, like if you are a food creator, or supplies you will need if you want to plant this tree.
The third, fourth, and fifth slides are the actual steps needed to complete this tree planting activity. You can flip this around to test. I haven’t noticed a huge difference between putting the ingredients or the supplies on the final slide before the call to action versus right after the hook intro slide.

If you’re teaching someone how to put makeup on their face, like one of our other clients, then the very first slide is the ‘after’ face, or perhaps half and half. Then you jump right into the tutorial putting the makeup on your face, and then the very last slide, before call-to-action, is all the makeup you’ll need to achieve that look.
The same method works with dressing yourself if you’re a fashion creator. Maybe the first slide is the outfit itself, the final look, and then steps one through four are for achieving this look. The last step is all the things you’re going to need to complete the look, so the body is very important.
People come back to successful Idea pins over and over because it’s valuable to them and is savable. One of the keys to getting excellent engagement on Pinterest is to make it savable.
Step 3 – Call to action
So now that we have talked about the body, let’s talk about the call to action. I have multiple call-to-action slides for every client saved on my phone because I am the de facto phone uploading Idea pin person in my agency.
My staff doesn’t do this. I have them do the ones we upload on the computer, and I take the hit for a couple of clients for whom we upload Idea pins on mobile phones. I do that part, so I save their call-to-action slides on my phone, and those call-to-action slides have one singular call to action. You do not want to have 15 calls to action for every piece of content that you create.
- We’re not telling them to click.
- We’re not telling them to save.
- We’re not telling them to visit us online.
- We’re not telling them to comment below or leave a heart.
You are choosing one based on the overall goal of the Idea pin, which is your call to action slide.
Calls to action pin examples
So, for example, for my client that I’ve been beta testing doing only Idea pins. I just rebranded the last slide to be different colors and her media kit, so it is all the same call to action. It’s “Go and join my free master class” because that’s the only thing I want people on Pinterest to do. I want them to get into her master class, which ultimately sells an $800 course, which works very well.
So, I want you to think about your call to action slide, and I want you to create multiple ones depending on the goal of the content. If the goal of the content is ultimately to get them to your website, then you will need to think through that and how you will get them to your website.
In fact, we create most of our calls to action first. We think about that final thing that we want them to do, that final goal that we want our viewership to jump over, that last hurdle that is planned out before anything else.
So if I know I want them to go to the website, I am thinking about how to craft the content in a way that leads them naturally to my website. It leads them naturally to want to exit Pinterest and go to the website to learn more. So it’s actually embedded within the content. Getting them used to reading the content and wanting to learn more and then getting them to that final slide to my website, ultimately doing the thing I want them to do there.
Great call-to-action slides
One of my members in my academy does this quite well. I will leave a link in the description below for Susan’s call-to-action slides and her Idea pins. She puts on her final call-to-action slide exactly how she wants people to go to her website and find the thing she’s talking about.
In her most recent Idea pin, she was talking about her taco party calculator. I followed the steps and found it exactly the way she described it. It was so simple. It was just a couple of steps. Check it out below.
Pro tips for successful Idea pins
Here are a couple more pro tips you need to be sure of in creating your Idea pins.
- Try varying before and after content
- Be patient with conversational pins
- Use multiple products in comparison pins
- Don’t forget extra optimization options
Test different before and after setups
If you are a fashion beauty makeup creator, I want you to do two things. I want you to test out the before face as the hook on your first slide, and I also want you to test out the after face on your first slide.
You can also do something in between. One of my clients actually has her face split. She has one side of her face made-up and the other side of her face with all of the makeup dots all over it. These tend to do very well.
Try all three ways and see what your audience responds to best.
Patience with conversational pins
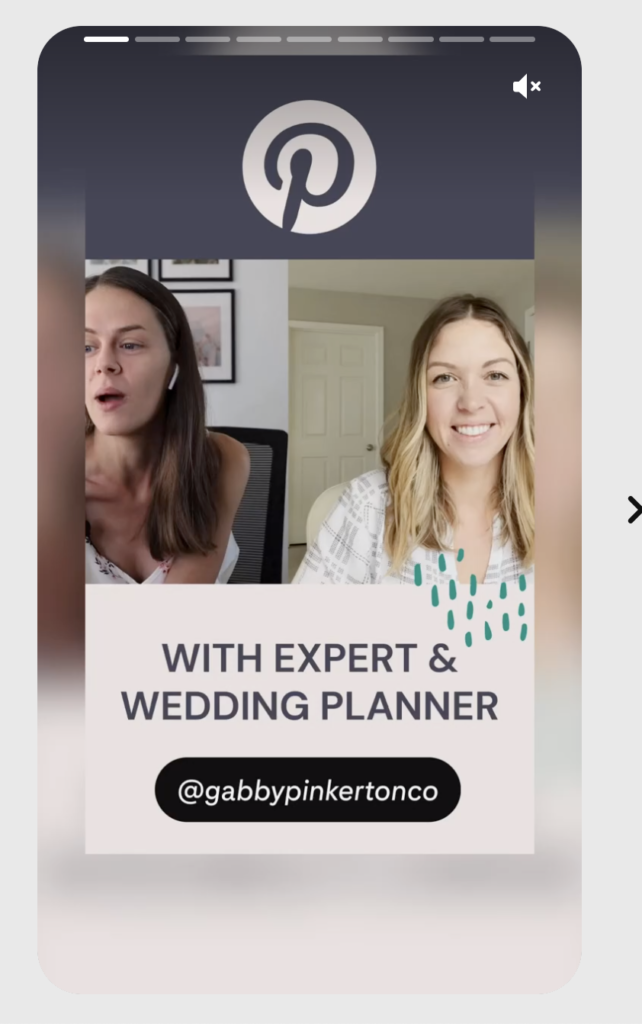
When I first posted my conversational Idea pin with Gabby Pinkerton about Pinterest for photographers, that Idea pin actually fell flat for the first four or five months. It was not until almost month six that that Idea pin started getting some traction. Now it has over 5000 impressions on it, and it was only published less than a year ago.

So I just want you to keep that in mind for conversational content. I want you to start with your hook, break your big points into slides, and know that that Idea pin may take some time to take off.
Products with comparison pins
For comparison, show how to use multiple products in the steps but use the same hook and CTA as your start and end. This seems to work best from what I’ve seen.
RELATED: How to Tag Products in Pinterest Idea Pins (2 Ways): How to Make MORE Money on Pinterest
Extra optimizing tips
I want you to make sure that you optimize your Idea pins fully. Once you’ve created the content and have added context in the form of text overlays in editing, I also want you to:
- Make sure you add an excellent title with the keyword you want to target.
- Add the notes into the notes section. You get up to 2000 characters with Idea pins, so make sure you utilize that space.
- Make sure you’re adding all of the accurate and appropriate tags. You get up to 10 when optimizing your Idea pins.
- Ensure you’re pinning it to the most appropriate board.
So those are four pro tips for optimizing your Idea pins to ensure they get to the right viewership. You don’t want just to create your Idea pins and randomly pin them to your profile and not utilize everything we’ve just talked about.
Final thoughts on successful Idea pins
If you’re looking for more Idea pin tips and tricks and ways to get more followers, more saves, more viewership on your Pinterest profile, and then get those people over to your website, make sure you watch our Idea pins playlist. That’s it for this week. I will see you next week.
Pin it for later


Heather went to school for accounting and worked for years in banking and finance. After finding all of that entirely too boring she started her first blog in her basement in August of 2016. She has started 3 blogs in the marketing, motherhood and travel niches and used Pinterest to grow them all. She quickly became the go-to Pinterest strategist in her peer circles and has been implementing strategies, driving traffic and sales through organic and paid tactics for her clients. On this blog and her YouTube channel she educates the public about clear and transparent marketing strategies to help them to grow on Pinterest and in other places online.