Heather is a seasoned
Pinterest marketing expert & educator using the platform since you could reach the bottom of the feed - 2010.
About Heather Farris >
How to Schedule Your Pinterest Pins Using the Canva Content Planner
March 14, 2024
Are you looking for a semi-free way to schedule your Pinterest pins without a complicated scheduling tool? Well, today’s tutorial on the Canva content planner is just for you, especially if you are a Canva Pro user.
In this post, I will show you the quick and dirty tutorial on scheduling your Pinterest pins using the integrated scheduling system with Canva. Canva is an approved Pinterest partner.
Before jumping into the tutorial, let us first understand the Canva content planner.
When it comes to content marketing tools many people don’t realize Canva offers this option. It’s definitely a great addition for those who don’t want to pay extra for schedulers. You’re already paying for Canva!
What is the Canva content planner?
Canva content planner is a new feature on Canva that helps you schedule your images for social media directly from Canva.
This feature is only available if you are subscribed to Canva Pro or Canva Enterprise. The social networks it currently supports include:
- LinkedIn Profile or Page
- Slack
- Tumblr
- Facebook Page or Group
- TikTok
- Facebook Story
Let me now walk you through a couple of pros and cons of the Canva content planner.
RELATED: I Tested Pinterest Approved Schedulers So You Don’t Have To
Canva content planner pros
If you are paying for Canva Pro, you can essentially schedule any and as many Pinterest Pin as you want for free. You can use this feature for no extra cost.
The second advantage of using Canva Pro is how easy it is to optimize your content for Pinterest. They literally make you choose a board, put your title, your description, your URL and then select a date and a time, and you’re done. There is nothing complicated about this.
Canva content planner cons
You can only schedule one design at a time. This means you cannot create a series of designs in one file and expect to schedule them all. It just doesn’t work.
Once you schedule your post, you cannot edit the file, or it will knock your schedule out of rotation. This means that once the pin is scheduled, you can’t do anything with that file until it publishes. So if you happen to click into that file and edit anything once that file is scheduled, it’s going to give you an indication that you’re going to mess things up.
If you do need to use that design, you will have to use the walk-around, which is going in to create a Pinterest design. You need to go to the previous design file in your folders and add it to that design.
RELATED: 10 Canva Hacks to Save You Time When Making Pinterest Pins
How to schedule Pinterest pins with Canva
Scheduling your Pinterest pins with Canva is relatively simple.
1. Connect your Pinterest account to Canva
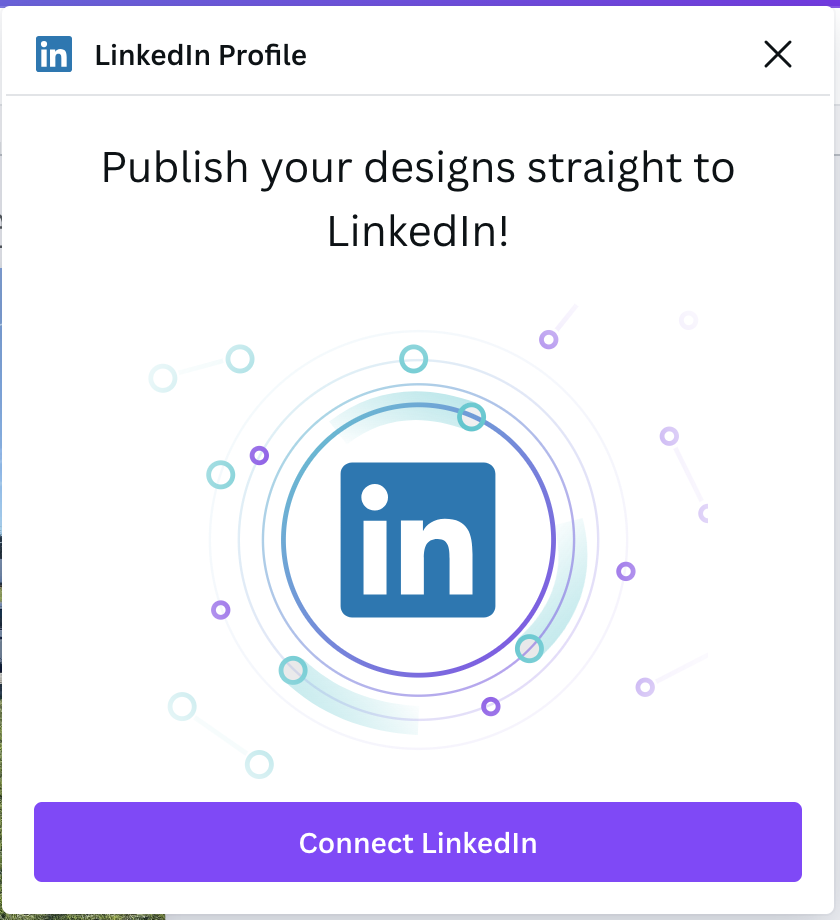
The very first thing that you need to do is connect your Canva account to your Pinterest account. All you have to do is click Publish with Pinterest. It’s two clicks of a button, and you have your Pinterest and Canva account connected.
When you connect it to Canva, just make sure you’re logged into the correct Pinterest account. Otherwise, it will try to connect someone else’s Pinterest account to your Canva. If you’re a VA like me and have multiple accesses, make sure you are logged into the correct one and then click this button, and it will connect.
I know this image says “connect LinkedIn” but it will say the same thing for Pinterest.
Tip on separating your pins
Once you have your account connected, I want you to know this before you start scheduling your pins. You may want to create half a dozen pins in a file as I have in the past, and you schedule those. Later, when you try to edit one of those pins in that file after you schedule, Canva will give you a little alert.
On one of my previously scheduled designs, it says ‘post paused’ because I went in and edited that file the last time I tried to do this tutorial. It will pause a post anytime you edit a file with multiple designs in it.
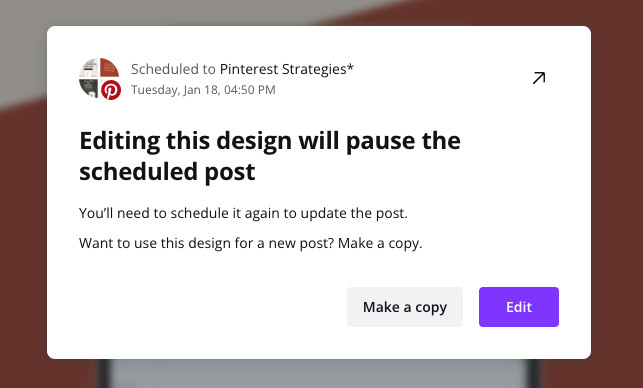
So if you create multiple designs in one file, you cannot schedule more than one of those at a time. Nor can you make any edits to that design file after that. You will have to go and make each individual pin its own file in order to schedule it properly. This way, you don’t mess up your other work.
This was just a little caveat there as I wanted to make sure that you understood that before you really dive into this because you will end up frustrated like I was when I first tried to do this.
2. Scheduling your pins
Once you have your Pinterest account connected, all you have to do is click Publish to Pinterest on the right-hand corner of the screen and choose your board. Once you have your board chosen, you will pre-fill in your title, description, and URL.
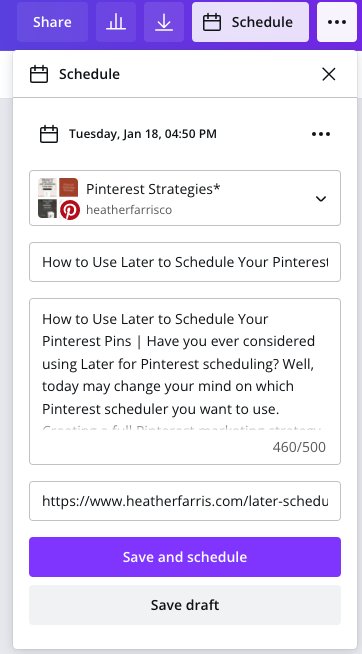
I would suggest having this set up in a system like mine. Mine is in my marketing system in ClickUp. In this case, I just have my titles and descriptions pre-written for me here, and I can save those and use them for later or revamp them if I like.
You can also use the Pinterest system spreadsheet or a Google doc for this purpose. Whatever you want to do to track all of that is entirely up to you.
So the next thing beyond this is actually to have the URL. Click schedule, and choose a board. We’re going to go ahead and click save and schedule.
Tip on checking your analytics
One of the latest features Canva introduced into the tool for scheduling is seeing your analytics based on what is happening with that pin or post or Instagram feed story that you scheduled using their platform. I will be reviewing this nifty feature later.
Pay attention to that tool in the upper right-hand corner next to the share button. You’ll see a little graph indicator where you can see stats based on what happened with that pin once it was published.
Check on your scheduled content
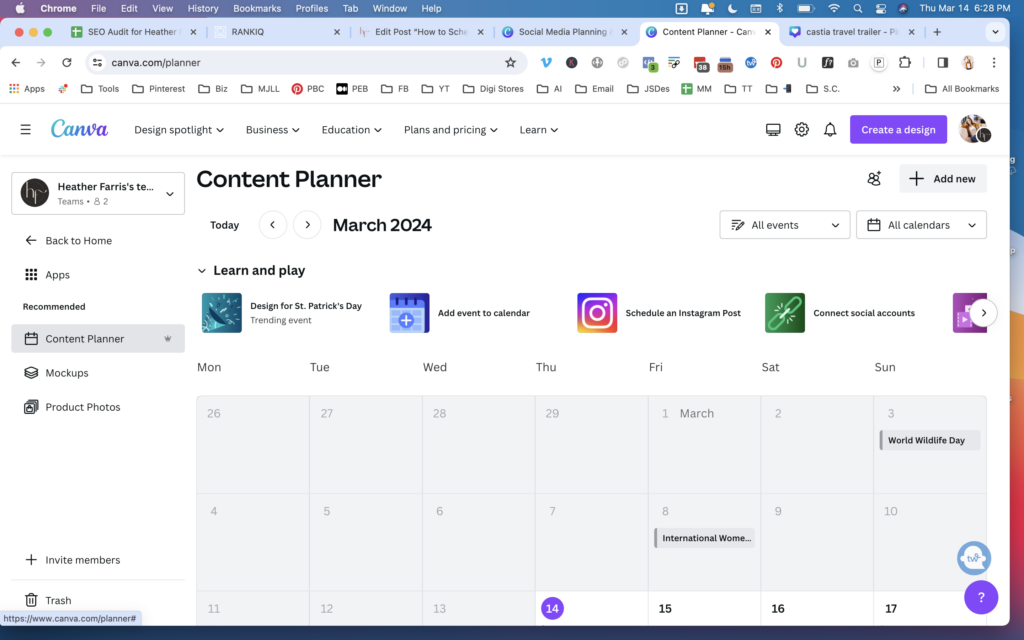
Click on the “apps” in the left menu and click “content planner”
From here you can see scheduled, published and draft posts.
Managing your Canva content calendars
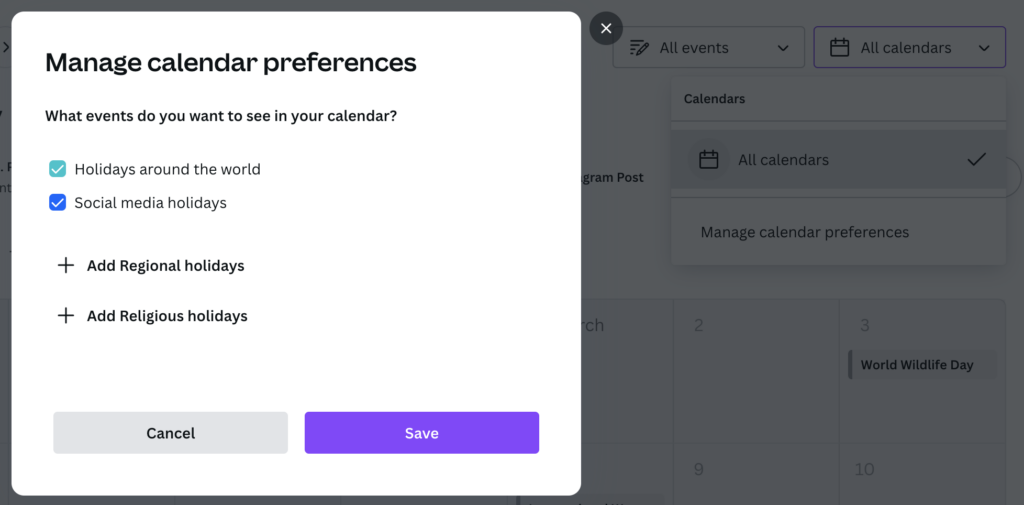
If you want to add special holidays or religious events you can easily by clicking “all calendars” and then click “manage calendars”.
Final thoughts
In the meantime, if you’re interested in learning more about Pinterest Schedulers and you’d like to maybe branch out into something a bit more advanced, Check out the Pinterest scheduler playlist, and I’ll see you right back here next week.
Pin It For Later

Heather Farris went to school for accounting and worked for years in banking and finance. After finding all of that entirely too boring she started her first blog in her basement in August of 2016. She has started 3 blogs in the marketing, motherhood and travel niches and used Pinterest to grow them all. She quickly became the go-to Pinterest strategist in her peer circles and has been implementing strategies, driving traffic and sales through organic and paid tactics for her clients. On this blog and her YouTube channel, as a renowned Pinterest marketing expert, she educates the public about clear and transparent marketing strategies to help them to grow on Pinterest and in other places online as a renowned Pinterest marketing expert.



This was extremely helpful. Thank you!
Thankyou- I am curious what your click up Pinterest board looks like, I did not understand that part, Pleasee share