Heather is a seasoned
Pinterest marketing expert & educator using the platform since you could reach the bottom of the feed - 2010.
About Heather Farris >
How to Batch Create Pinterest Pins for a Month Using Canva
January 21, 2023
If you are spending way too much time making Pinterest pins, I get it. In fact, I used to spend so much time creating Pinterest pins for clients that I was eating into the actual profit margins of my business.
So I knew something had to change. And that’s where this entire post will help you solve that problem.
Batch Create Pinterest Pins Quickly
In today’s post, I will tell you how to batch create and schedule 30 days’ worth of content in less than two hours.
The two basic steps are:
- Get your systems organized.
- Create a pin plan.
Then I’ll walk you through my exact process from start to finish.
Step 1: Get your systems organized
The very first thing that you need to achieve success with this is to organize your Canva account. If your Canva account is not organized, you will spend way too much time looking for things to design with, fiddling around with templates, not knowing what you want the design to look like, and not enough time actually getting the job done.
Setup Your Canva Branding Kit
So, first things first, you’re going to upload your brand kit to Canva. I want you to upload your fonts, logos, and brand colors to your brand kit. Now to your brand kit, in your logo file, you can also upload any additional elements that are part of your branding.
For example, there are a number of lines and shareable little hand-drawn graphics that I use in my business consistently. I’ve uploaded those to the same logo area, which will always be in the logo file folder.
RELATED: How to Create Pinterest Pins in Canva – A Pinterest Image Workflow to Save Time
Upload Your Pinterest Templates
Beyond that, I want you to upload your Pinterest templates and save them in a folder in your account. Upload any brand or product photography you use consistently in your design process. Put these in a folder as well, and make it easy to find.
Bonus Tip
Going beyond that, this is a little pro tip for you. If you’re using stock photography or elements inside of Canva, you can add those to folders in your own projects section to add and use later. All you have to do is click the three little dots on any little element of the photo, and an Options menu will come up. Then you can click Save to Folder and add it. It’s pretty simple.
RELATED: 10 Canva Hacks to Save You Time When Making Pinterest Pins
Step 2: Create a pin plan
The second step will be creating your pin plan. Before you start designing, you need to know what you’ll create pins for. That way, you don’t sit down at your computer and start guessing and bumbling around on your website to try and figure out what you want to promote this week.
Compile Your Pin Links
I would suggest creating 30 URLs and titles or grabbing 30 URLs and titles from your content library and putting that into a Google Doc or spreadsheet. This way you have it in a really quick list and there are no further distractions. I will show you behind the scenes of creating my own pin plan in a moment.
RELATED: How to Repurpose Content for Pinterest
Keyword Research
Beyond those two things of organizing your Canva account and creating your pin plan, you may also want to go ahead and gather any keyword research for the content that you planned.
If you don’t already have your keyword research put somewhere or stored somewhere, this is an opportunity for you to go ahead and do that before you start designing.
RELATED: How to Use Keywords to Optimize Your Pins on Pinterest
How I Batch Create Pinterest Pins From Start to Finish
Now, without further ado, I’m going to take you behind the scenes and show you this entire process from start to finish. This process took me one hour and 32 minutes to complete.
- Created my pin plan.
- Designed the Pinterest images.
- Scheduled them for the entire month.
I’m going to take you behind the scenes. I will show you the task, the clock, and how much time each task takes. Be sure to watch the video at the top of this post to see more details on my screen.
Creating My Pin Plan
The first thing we’ll jump into right now is creating my pin plan. The content, digital product store links, and all of the stuff in my business lives in one spreadsheet. So I go in there and choose blog URLs that will turn into Pinterest pins.
I don’t have any seasonal content. All my content is evergreen as long as that content is accurate and up to date. I like to put all URLs in a spreadsheet for my blog and my YouTube channel. I can pick and choose what I want to send traffic to. I’m going to assume you already have that figured out.
Knowing that you have a split between products, YouTube videos, blog content, freebies, etc., I’m just going to choose 30 URLs, and that’s how I’m going to start my pin plan.
RELATED: Create a Pinterest Marketing Plan in 5 Easy Steps
Keeping Track of My Plan Each Month
I put my URLs for Pinterest pins into a Google Doc. I number them because I want to know how many I have. I usually create 30 pins a month.
I’ll grab some YouTube URLs because I also like promoting freebies. I have a Shopify store now, so I’m going to grab some URLs for Shopify pins. I will grab these randomly because most of them are evergreen, as I mentioned before.
Once I have a full list, I can manipulate it and get it to where I am happy with the pin titles.
RELATED: Why Do E-Commerce Sellers Succeed on Pinterest?
How I Organize My Canva Designs
The next step is getting into Canva and organizing your designs. Now within a folder in my Projects, I create a folder for Pinterest pins. Then I create another folder inside that one, which will be the month of the year for these new pins. Then within that folder, I create all my designs.
I like to create my designs in sets of seven for each week of the month, then the last set for whatever the fourth week totals. So I create a folder for each set of seven.
Now I’m going to add all of my templates to the files I just created. I have templates already loaded up into my Pinterest folder, so I add various templates to the designs.
RELATED: How to Schedule Your Pinterest Pins Using the Canva Content Planner
Adding All My Pin Titles and Images
I split my screen in half with my Google Doc on one side, and my Canva open on the other in order to quickly switch back and forth.
‘Pinterest traffic’ is the keyword I really want to target, so I’m going to add the title: Want more Pinterest Traffic? Although I like the image on the template, I will replace it with another image. So I’ll go into my brand folder, where I have all my images for my entire brand. These include my images with notebook and planner, laptop, mic, and camera. I will choose a random image and stick that in there.
Another key here is to actually take the URL for the Pinterest image and add it as a comment on the pin. You’re making a whole series of pins here; you do not want this to take 7,000 years and have to remember what Pinterest images go with what URL. So as you are creating, you can put the URLs on the Pinterest image, it’s been very helpful for me.
The pin planning process in my video tutorial took 14 minutes, and creating the 30 Pinterest pins took 38 minutes. Because I always everything ready and laid out and organized, this process does not take very long.
Now when you are done creating pins, head into a tool that will schedule your pins for publishing.
Scheduling Pins for Publishing
Now I want to let you know that I am using a brand new tool called Metricool, and this is the first time I’ve used this tool to schedule Pinterest pins. I know it’s an approved Pinterest scheduler, but it’s not a Pinterest partner. I just wanted to test it out to see if I eventually wanted to do a review of the tool. So we’re doing a little double dipping today with this tutorial.
It took 40 minutes to schedule all my Pinterest pins. Now I will give you a caveat. If you watched the video tutorial above, you probably saw me copying and pasting information from not only my website but the description of my YouTube videos.
Because I write my descriptions in the first paragraph of all my blog content for SEO, I know that that content is optimized for Pinterest keywords. So, I can quickly copy and paste that information and use it as a Pinterest description. I change a bit of the text, add a call to action, and move on quickly.
If this is not something you are already doing or are thinking about doing in your planning process, I will encourage you to go ahead and write your pin descriptions and titles before you head into scheduling.
So, here’s the timer: one hour and 32 minutes total to create the plan, execute the designs, and schedule everything in Metricool.
RELATED: Pinterest Scheduling with Canva and Planoly (My Pinterest System Workflow)
Final thoughts on how to batch create Pinterest pins
Now that you’ve learned how to create Pinterest pins quickly and strategically, it’s time to learn how to optimize your Pinterest pins on Pinterest. This is why I want you to watch this video next, showing exactly how to do that: How to Use Keywords to Optimize your Pins on Pinterest.
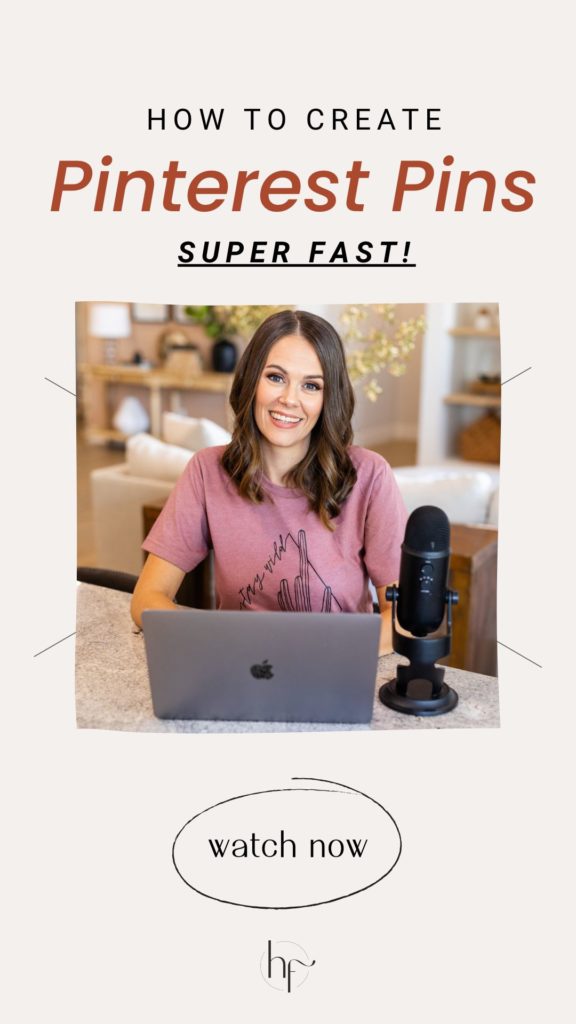
Pin it for later
Heather Farris went to school for accounting and worked for years in banking and finance. After finding all of that entirely too boring she started her first blog in her basement in August of 2016. She has started 3 blogs in the marketing, motherhood and travel niches and used Pinterest to grow them all. She quickly became the go-to Pinterest strategist in her peer circles and has been implementing strategies, driving traffic and sales through organic and paid tactics for her clients. On this blog and her YouTube channel, as a renowned Pinterest marketing expert, she educates the public about clear and transparent marketing strategies to help them to grow on Pinterest and in other places online as a renowned Pinterest marketing expert.
