


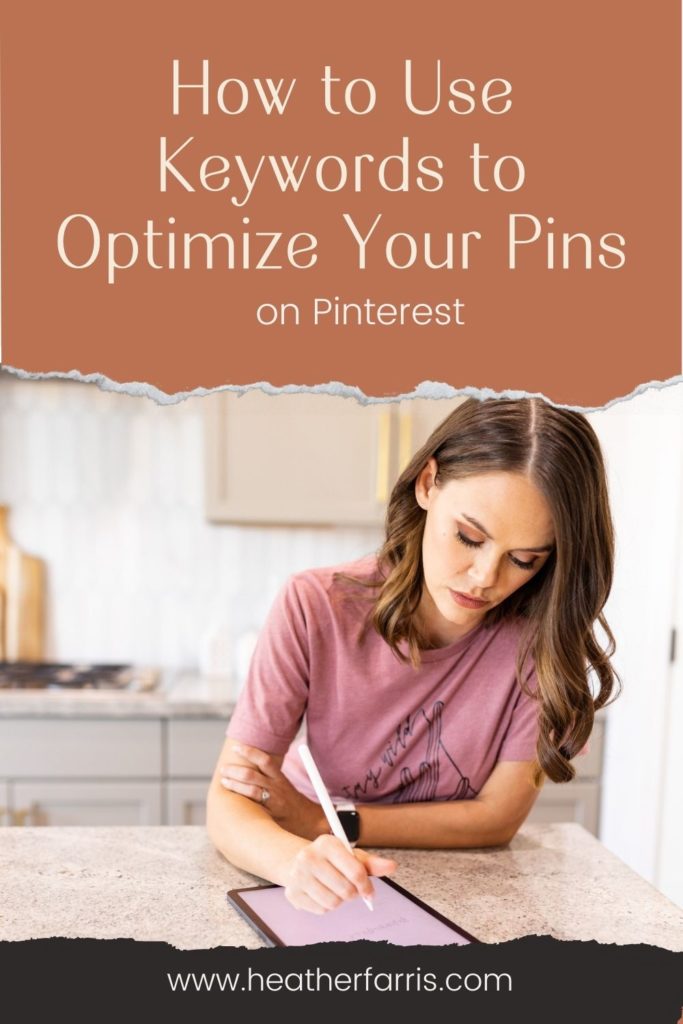
How to Use Keywords to Optimize Your Pins on Pinterest
If you fail to optimize your pins properly, Pinterest will have a hard time indexing your pins, and you are not going to be found in search. You are wasting your time on Pinterest if you’re not optimizing because Pinterest is a search engine.
I’m going to walk you through a quick and easy tutorial on how to optimize your pins (both image and video pins) on Pinterest. I’m showing you the image pins on the desktop and the video pins on mobile.
So let’s hop right on in and learn how to use keywords to optimize your pins on Pinterest.
Optimize Your Image Pins
Start with text overlay
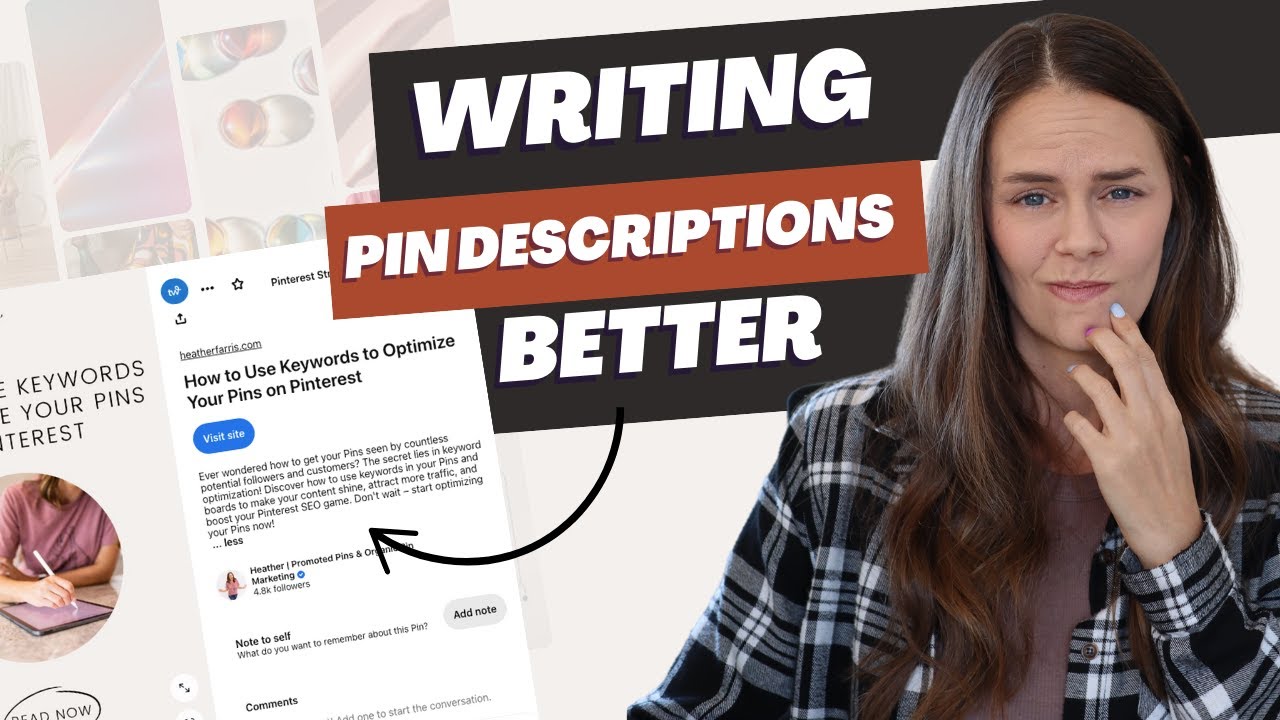
Optimizing your image pins starts with your text overlay. You want to consider adding a text overlay to your pins because Pinterest can read what’s on your image.
You need to give context to the pinner. So add a text overlay and make sure you use your main keyword in that place.
Write your pin title
The next place that you’re going to optimize is your pin title. You want to write a perfect pin title using your main keyword that you’ve researched. Not a clickbait-type title, but exactly what your pin will lead them to.
RELATED: How to Write Pin Titles on Pinterest That Make People Want to Click + Pin Title Templates to Swipe
Write your full description
After that, you want to write a really solid description. You only get 500 characters for your descriptions on image and video pins, as well as carousels. So you want to make sure you use up all of that real estate.
I prefer to use a Mad Libs style method of writing my pin descriptions using five related keywords.
- I drop all five keywords into the box.
- I write sentences around all five of them.
- Then I will write a really good call to action at the end.
Input your alt text
The last place on image pins that you will optimize is putting in an alt text. Now you can only do this on the desktop. Skip over this if you’re using a scheduler to publish your pins. Don’t even think about it.
The alt text, however, is used only to describe what’s in the image and a bit of your description. Make sure you describe the image so someone who cannot see it knows what it is. Then put a little bit of your description in that alt text so they can understand what it’s about.
Your alt text is limited to 500 characters, so keep that in mind.
Then you’re going to put in your URL, and you are going to choose a board. Once you have done all of those things, your image pin is optimized and ready to be published.
RELATED: How to Optimize Your Blog Content For Pinterest
Optimize Your Video Pin
Go ahead and use the text overlay and the pin title just like you would use on image pins, and you’re also going to write a solid description like I mentioned above.
However, you can
- add more details,
- including lists of things,
- any additional tips,
- supplies, and
- instructions that will help people execute your video fully.
Start with your text overlay
Make sure it is in the first six seconds of the video. Make it your cover also to show when the video pin is being shown in the browse feed on Pinterest. Use the main keyword here if possible.
Write your pin title
I have prewritten just a basic title and description we can use if you watch the video tutorial. You are going to go ahead and add your title here. This is required.
Write your description
Now you’re going to go ahead and add your description.
You’re going to write your video pin description the same way you write your image pin description. Use 5 keywords and write 5 sentences in order to rank your pin in those searches. You can also add a call to action if you’d like.
Pick your board
Once you have added your title and description, go ahead and pick your board. Don’t be shy about adding it to a board.
Many people are realizing now that they can pin video pins without choosing a board, but don’t do that. It’s essential for indexing that you do choose a board.
It’s essential for indexing that you do choose a board.
Add related tags
Go ahead and add your related tags. You can add up to ten tags and you should add as many as you can. Try to find as many relevant tags to include.
For example in a pin on fitness, you can include Fitness Tips and Women’s Fitness amongst others. When we have all ten, we are ready to go ahead and edit our cover.
Edit cover
Make sure that your cover actually includes your text overlay because in a lot of cases, the video is going to slide in, and it’s not going to have the text at the very beginning. So make sure that you have your cover on there and it is set and ready to go.
Advanced settings let you toggle on and off comments or show similar products from your video pin in search. You can toggle that on and off if you would like.
That is how you completely optimize an video pin. If you are ready to publish, go ahead and publish. If not, you can save it as a draft.
RELATED: Is Pinterest Marketing Right for My Business?
Tactical tips for video pins
Here are a couple of final notes just to hammer this home:
- Alt text is only available on static images
- Tags are also available on video pins
However, on the video version, you’re going to optimize it the same way as your static pin with the tag feature from video pins, and then you get alt text as well.
- You cannot use music, stickers, edit, or really do anything on desktop other than upload and publish.
If you upload your video pin on desktop and save it as a draft you won’t be able to access it via mobile & vice versa.
RELATED: How To Make Pinterest Pins For Physical Products
Final Thoughts
For more tactical Pinterest tips, you can head on over and watch our Pinterest marketing strategy playlist or visit Pin Profit Academy and get started today with everything you need to have great success on Pinterest.

Pin Profit Academy
Marketing can be difficult and trying to figure it out on your own, especially with Pinterest, can be overwhelming.
I will show you how to double your traffic and sales without spending another minute on social media!
PPA is the only comprehensive membership program & community for creating, marketing & selling your products & services using Pinterest.
Pin It For Later
Heather Farris went to school for accounting and worked for years in banking and finance. After finding all of that entirely too boring she started her first blog in her basement in August of 2016. She has started 3 blogs in the marketing, motherhood and travel niches and used Pinterest to grow them all. She quickly became the go-to Pinterest strategist in her peer circles and has been implementing strategies, driving traffic and sales through organic and paid tactics for her clients. On this blog and her YouTube channel, as a renowned Pinterest marketing expert, she educates the public about clear and transparent marketing strategies to help them to grow on Pinterest and in other places online. She created Pin Profit Academy and helps small business owners just like you to master their Pinterest marketing strategy. Heather is now a Pinterest Educator, one of the very few sponsored by Pinterest.


