Heather is a seasoned
Pinterest marketing expert & educator using the platform since you could reach the bottom of the feed - 2010.
About Heather Farris >
4 Steps For Creating an Effective Pinterest Workflow That Produces Results
October 17, 2023
There are two main reasons why people fail when it comes to a Pinterest Marketing Strategy. We are going to talk about one of those reasons in depth today. That reason is the lack of a Pinterest workflow.
Signs you don’t have a successful Pinterest workflow
Most people that come to me, clients or students, lack an organized process to keep themselves on track in consistently pinning. Now there are three main problems that I have identified when it comes to creating a consistent workflow:
- You don’t know what to pin and when.
- You don’t know what pin types to create: whether it should be a standard image, a video, a shop listing from your Etsy store or a Shopify store, or repurposing content from another platform in general.
- You are confused about what board to pin to, how often, and when.
Those are the three main issues.
I see a fourth issue that is prevalent, but it’s not as common with everyone. That is not knowing what content you already have in your toolbox. If you are not organized and don’t know what you already have in your business to promote, it will be hard to know what to pin and when.
So that kind of bleeds together. I help my Pin Profit Academy members conquer all these areas with their businesses and using Pinterest to support them in their marketing.
Pin Profit Academy
Marketing can be difficult and trying to figure it out on your own, especially with Pinterest, can be overwhelming.
I will show you how to double your traffic and sales without spending another minute on social media!
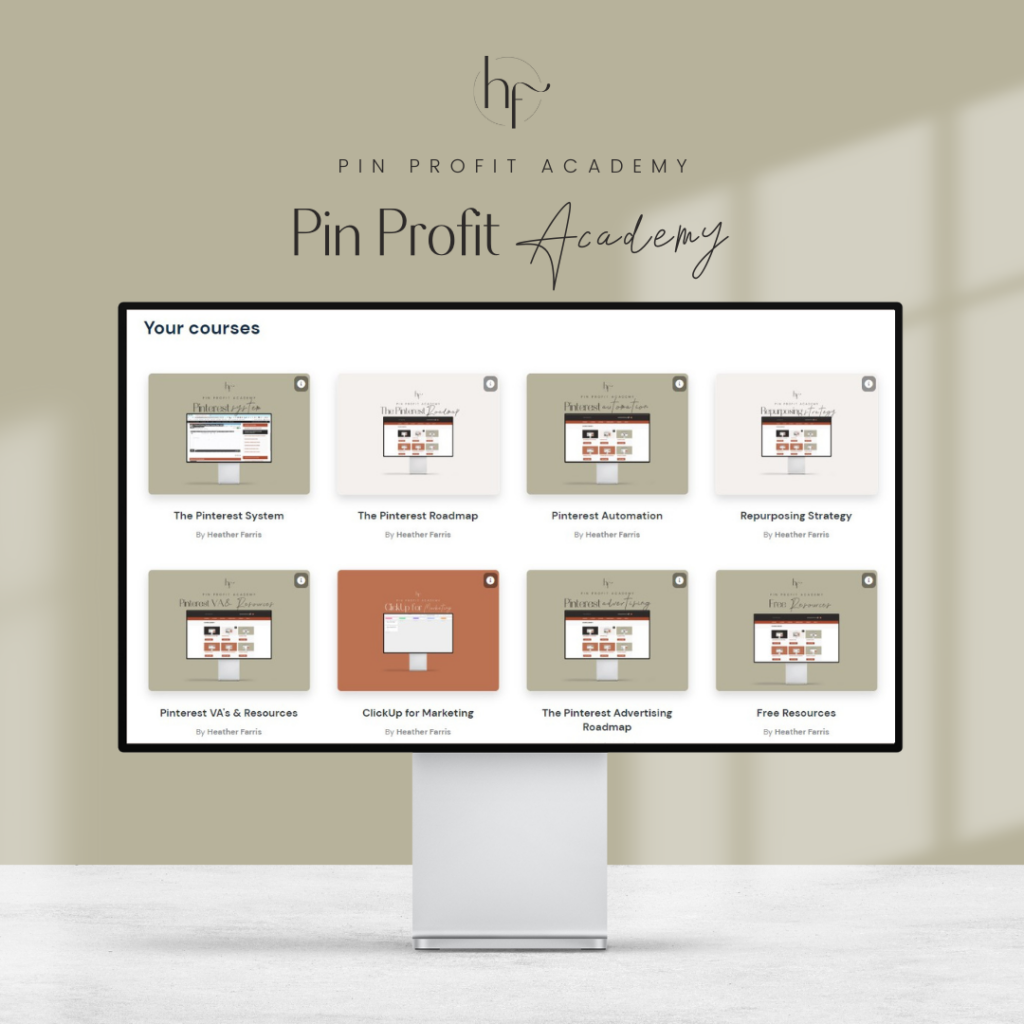
PPA is the only comprehensive membership program & community for creating, marketing & selling your products & services using Pinterest.
Here are three solutions to those problems to help fix them and identify the root cause of each. That’s what we must do if we want a Pinterest workflow that will create results in our businesses.
RELATED: The Complete Pinterest Marketing Strategy I Would Tell My Friends
#1. Create a consistent pin plan for Pinterest every month
There is a little bit extra that goes into this, like using Pinterest trends if you are in niches with many Pinterest trends. If you are evergreen, just ensure you get through your content regularly. I’ll go over exactly how to make a plan in a bit.
#2. Creating a pin type for every piece of content that you have
So, if you have one piece of content like ‘Pinterest templates for Canva,’ then create a standard pin, a video pin, and share a shop listing.
Then also create a video on TikTok or Instagram reels or YouTube shorts about your product and how it helps people and repurpose it to Pinterest.
So, you are hitting all of the areas. Then you don’t need to guess about what pin type to create.
RELATED: How to Batch Create Pinterest Pins for a Month Using Canva
#3. Just pin your pins to the most relevant boards
It doesn’t matter to me or Pinterest if you pin them to multiple boards. I do not want you to focus your efforts on interval pinning or repinning pins that you have already pinned.
I would rather you focus your efforts on creating high-quality pins for all the content you want to promote for the month instead of worrying about how many boards to pin to. Let us table that discussion for now and pin your pin to the most-relevant board first.
RELATED: The Ultimate Guide to Create Your Pinterest Board Strategy
Adjusting your time for creating content in your Pinterest workflow
I am going to show you all of this behind the scenes. I will walk you through the entire process with the content marketing strategy today, and how I use this Pinterest workflow.
Pro Tip: Set aside one entire day where you are not making new things for your business. Set aside a day each week where you only create content and market your business. For me, this is every Tuesday.
If you are an e-commerce shop, you are probably doing a lot of customer service work, fulfilling orders, and getting new listings up. I want you to have one entire day in your business where all you do for that day is:
- Work on your social media
- Write a newsletter to your list
- Do your Pinterest marketing
- Create a new video on that day
I want you to only focus on your own marketing. This is a major game changer that has skyrocketed my own business. From barely paying the bills, I can now pay all the bills, and my husband was able to quit his job to go to school full-time, just because of content marketing. Just do it.
RELATED: 5 Types of Content Creation You Need to Generate More Sales
Process for creating your Pinterest workflow
All of that aside, most people lack an organized process to stay consistent and see the growth on Pinterest that they want to see. Most people lack an organized process for EVERY single marketing platform that they want to be active on. We, of course, are focusing on Pinterest.
So without further ado, I will show you each step, the problems, and solutions I have already covered in my content marketing strategy for Pinterest.
The thing that we are going to do today is:
- Make a content plan with batching tasks.
- Batch all your images in two or three sittings.
- Batch schedule those pins for publishing.
So if you create images this week, you are scheduling next week. If you create images today, then you’re scheduling in two days.
Whatever your workflow and schedule allows you to do, I would lean into more of that and make it easier not to be so overwhelmed with all the tasks that come with Pinterest. There is a lot that comes with this platform.
RELATED: 3 Content Management Systems You Need For Your Content Marketing Strategy
Step #1. Make a content plan
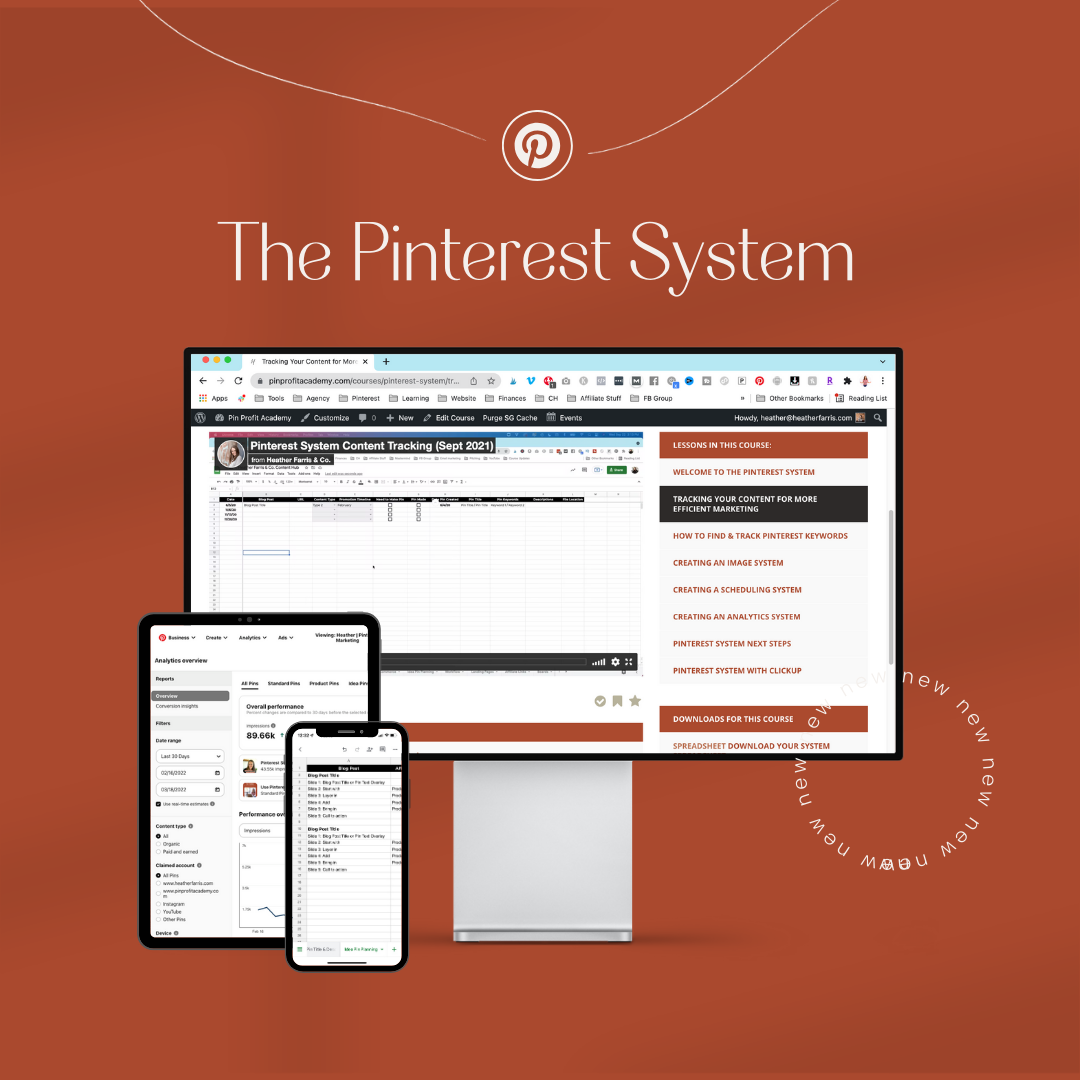
This is my pin planning sheet that comes within my Pinterest System product that I sell.
You can use this sheet however you like, but this is what I do to keep track of what pins have been created, for what content, their details, and where they’re located. I will put down everything I want to create for a month.
So fill in the ‘Pin Date’ for every day of the month. Enter which content pieces you’re going to pin, their URLs, and what type they are. You want to have as many different pin types for each piece of content, whether it’s a product or a blog. You also want to have something pinned every single day from your blog, your funnel offers, or your products store.
RELATED: What are the Different Types of Pins on Pinterest? (+ When to Use Each)
How I fill in my pin plan
For example, I’ll fill in multiple lines of the same blog post with all the different pin types I want to make for it, scheduled to pin on different days. Then I’ll have copied rows for products I want all their specific pin types for.
There’s always a new weekly post I’ll pin. Sometimes I’ll add in an older post needing a boost, something seasonal, or a really popular post I’ll make a new pin for.
I’ll recycle through seasonal products and make new pins, or plan on repinning older ones that have done really well historically. So it’s as much or little as you want, but for me, it averages 1 pin per day, different types, and different content.
With each line, I’ll also insert the keywords, pin descriptions, and a link where the pin design is saved. We’ll get to that later, but it’s a lot easier if you also have your keywords from your research, and your descriptions all right in one place. Makes it easier to grab and paste in when you’re scheduling.
RELATED: How to Use Keywords to Optimize Your Pins on Pinterest
Linking to designs
The file location is where the pin image or video is located. Did you make pins and upload them into Google Drive? Did you make pins in Canva and put the share link for wherever its location is?
This option is for you if you are:
- Working with someone on your team to do this
- You made these pins, but you will not schedule them today. You are going to do this another time and want to find them again.
You don’t want to create more work for yourself later by having to go dig around in Canva to find pins you made last week or two weeks ago. So just make the pins and link them right in here in your Pinterest workflow.
If you do one file for all of your pins for the month, you can just link that one file, and that’s it. Make sure they’re shareable/editable links if a team member or someone else is using them.
But if you have multiple different files, you have an Instagram reel you need to repurpose, if you have other videos that you want to break up and make, you will need to have a more organized system and have all those links actually linked.
RELATED: How to Repurpose TikToks Videos to Pinterest
Step #2. Batch create all of your pins for this content
You can use the Status column to know what you’ve created already or scheduled for pinning as you move through and make your pins.
I am going to take this content and make the pins for it. For every pin I make, I like to put the product title and the content URL as a comment on the design, which can help if your spreadsheet isn’t fully filled in or you’re creating one-off pins. I will also use templates that I’ve pre-made, or from Canva, that I recycle through and just change out the text and images or video. Makes everything go much faster.
Ideally, I would be creating at least seven pins in a week in a batch sitting, but if you have to revisit your pin creation each week and can’t do a full month all at once, that’s fine.
RELATED: How to Batch Create Pinterest Pins for a Month Using Canva
Step #3. Batch schedule the pins
When you’re downloading your designs, make sure you download correctly which ones are video, animations, just static images, etc. Because you can’t always just download everything into a zip file if you’ve combined pin types in one project within Canva. That’s okay, just make sure you keep them separated, or it adds more time in your Pinterest workflow.
So in my video tutorial, I have three JPEGs and three MP4 videos. I uploaded all of them using Tailwind to schedule, but you can also use the native Pinterest scheduler. Scheduling in bulk is easier with Tailwind because you can upload and edit many drafts easier all at once. Pinterest can do the same, but it’s glitchier and works better based on one pin at a time. So, take your pick.
Just upload all your created pins as drafts. Then we’ll come back to them later to edit their details.
RELATED: I Tested Pinterest Approved Schedulers So You Don’t Have To
Scheduling videos directly from YouTube or Etsy
Since I want to directly share videos from my YouTube channel, I grab some of the videos I know I want to share as well. To do that:
- Go to the video you want to pin.
- Click ‘Share’.
- Select ‘Pinterest’.
- But before pulling it into Pinterest, click ‘Tailwind Schedule’. As long as you have the Tailwind extension, that should work. If you don’t, it will pin immediately.
- That should pull that into your drafts. Do that for however many videos you want on your channel.
You can even save some pinnable images that are already on products in your Etsy store. Same for your Shopify store. Just go to the listing and your Tailwind extension button will pop up. Click that and it will save things in your drafts.
RELATED: Pinterest For E-Commerce in 2023: Pinning tactics for product sellers
Adding pin details inside of the drafts
Go back to your Tailwind drafts and refresh the page to load in everything you’ve added in case you have some you used the extension on. Select all of the drafts you want to schedule and click the ‘Bulk Schedule’ button.
This is where you need to put in your pin titles and descriptions. If you didn’t write them in advance, you must do it now.
For any shop listings, directly cut and paste a portion of your product details because it will get overwritten anyway by Pinterest. You cannot write your own unique descriptions for any E-commerce shop items if you are linking directly to them.
However, you do want to write descriptions for all the other items: your YouTube videos, blog posts, landing pages, everything else.
Using Tailwind Ghostwriter for pin titles and descriptions
Bonus tip: Use Tailwind Ghostwriter to help you write your titles and descriptions. Click the ‘Ghost Writer’ button in the editor and options will pop up.
In the ‘this pin is about’ drop down, I always choose ‘Informational Content’ or ‘Promotion of Products for Sale’. So this is where you will want to know what keywords you want to use because you want to tell the platform what to do. Based on the details you enter is what the Ghostwriter will spit out for you. Then just click ‘Generate’.
If you don’t like anything that Ghostwriter generates for you, you can simply paste in what you want and it will still save over it.
For my YouTube videos, I already write well-optimized descriptions for my YouTube videos that will rank on Google and YouTube. So I will repurpose the work I already did and copy that description for my pin description. It’s probably going to be longer, but that’s ok. I just cut off what I don’t need. I have put plenty of Keywords in here that I can rank for.
Select which board you want you pin to go on. Put the date and time you want the pin to publish. Then click ‘Schedule post’. You are now all done with scheduling our content.
RELATED: Use Tailwind Ghostwriter to Write Your Pin Descriptions For You
Final thoughts on creating an effective Pinterest workflow
Now that you have seen the entire Pinterest workflow process, from creating a pin plan to batch-creating our images and getting them scheduled, you can follow the same process. I suggest batch-creating your pin plan, batch-creating images, and batch-scheduling all your pins.
That way, you take a lot of the overwhelm off doing all the tasks at one time, and you do not have to do all the task-switching in your brain. I save myself so much time, energy, and stress when I batch some of the tasks together.
This is one of those power tips that, if you have figured out, will save your life. If you want to use the same Pinterest System I used in this tutorial, I have it for sale in my Shopify store. It also comes with additional training videos to help you implement this for yourself. See you next time!
The Pinterest System
Want the system to better manage your Pinterest strategy?
It’s all inside of our exclusive Pinterest System. This system was developed while managing hundreds of accounts out of the pure desire to become faster at implementing & more profitable overall. This system alone has been purchased over 4000 times!
No more wasted times means more profit in your business because your time is money too.
Pin it for later
Heather Farris went to school for accounting and worked for years in banking and finance. After finding all of that entirely too boring she started her first blog in her basement in August of 2016. She has started 3 blogs in the marketing, motherhood and travel niches and used Pinterest to grow them all. She quickly became the go-to Pinterest strategist in her peer circles and has been implementing strategies, driving traffic and sales through organic and paid tactics for her clients. On this blog and her YouTube channel, as a renowned Pinterest marketing expert, she educates the public about clear and transparent marketing strategies to help them to grow on Pinterest and in other places online as a renowned Pinterest marketing expert.
